
Learning to use Git in Visual Studio Code (VS Code) is an essential skill for any developer. Git is a version control system that helps you track changes in your code over time. This means you can go back to previous versions if something goes wrong, and it’s also crucial for collaborating with others. Here’s a step-by-step guide to get you started:
Step-by-Step Guide: Using Git in Visual Studio Code
Step 1: Install Git
- Download Git: If you haven’t already, download and install Git from git-scm.com.
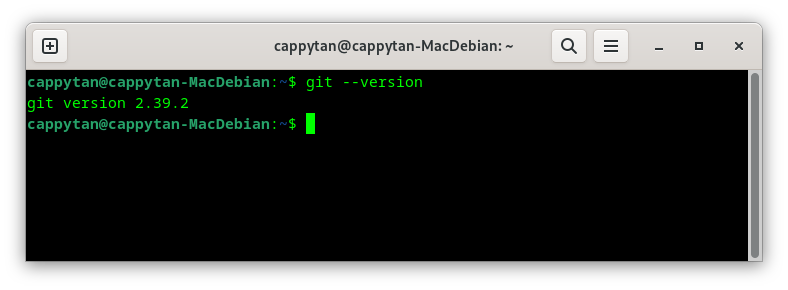
- Verify Installation: Open a terminal (Command Prompt or PowerShell on Windows, Terminal on macOS) and type
git --versionto ensure it’s installed.
Step 2: Set Up Git
- Configure Git: Open your terminal and set your username and email, replacing
Your Nameandyouremail.com@ with your details:git config --global user.name "Your Name"git config --global user.email "youremail.com”@
Step 3: Initialize a Git Repository
- Open Your Project: Open your project folder in VS Code.
- Initialize Repository: Open the terminal in VS Code (
Ctrl + `orView -> Terminal) and typegit init. This creates a new git repository in your project.
Step 4: Make Changes and Track Them
- Make Changes: Edit some files in your VS Code project.
- Stage Changes: In the Source Control panel (the branch icon on the left bar), you’ll see a list of changed files. Stage them by clicking the ‘+’ icon next to each file.
- Commit Changes: Enter a commit message in the text box at the top of the Source Control panel and click the checkmark icon to commit these changes.
Step 5: Connect to a Remote Repository
- Create a Repository on GitHub/GitLab/etc.: If you haven’t already, create a new repository on your platform of choice.
- Copy Remote Repository URL: Find and copy the remote repository URL.
- Add Remote: Back in your VS Code terminal, link your local repository to the remote one with
git remote add origin YOUR_REMOTE_REPOSITORY_URL. - Push Changes: Push your changes with
git push -u origin master.
Step 6: Pull Changes and Branching
- Pull Changes: To update your local repository with changes from the remote, use
git pull. - Create a Branch: For new features, it’s good practice to create a new branch with
git branch new-featurefollowed bygit checkout new-feature.
Step 7: Merge Branches
- Make Changes and Commit: Make changes in your new branch, stage, and commit them.
- Switch to Master: Switch back to the master branch with
git checkout master. - Merge Branches: Merge changes from your new branch with
git merge new-feature.
Step 8: Resolve Conflicts
- If you have conflicts after merging, they need to be resolved manually in VS Code. Edit the files to resolve the conflicts and commit the changes.
Step 9: Pushing to Remote
- Once your changes are committed, you can push them to the remote repository with git push.
That’s your basic workflow with Git in VS Code! Remember, practice is key to getting comfortable with these commands.